Foolproof Lemon Bars: Your Shortcut to Tangy Sweet Perfection
Craving a dessert that brightens any day with its vibrant citrus zing and delightful sweetness? Look no further than classic lemon bars! These beloved treats strike the perfect balance between tart and sweet, all nestled on a comforting, crumbly crust. While some recipes can seem daunting, we're here to share a truly foolproof method that ensures delicious, bakery-quality lemon bars every single time. Whether you're a seasoned baker or just starting, this easy recipe guarantees you'll be serving up slices of sunshine that impress friends and family alike. Get ready to indulge in the melt-in-your-mouth texture and irresistible lemon flavor that makes these bars a perennial favorite.
The Secret to Foolproof Lemon Bars: Our Easy Recipe
Imagine achieving that quintessential lemon bar taste with minimal fuss. Our featured recipe utilizes a clever shortcut – a lemon cake mix – to streamline the process without sacrificing flavor or texture. This approach is ideal for busy schedules or when you simply want to whip up something spectacular without spending hours in the kitchen. It simplifies the crust preparation and forms the basis for a luscious, tangy filling, making homemade lemon bars more accessible than ever. This method ensures a consistently delicious result, earning its "foolproof" title. For a deeper dive into this convenient approach, explore our guide on
Quick & Easy Lemon Bars: Delicious Recipe Using Cake Mix.
Gathering Your Ingredients for Zesty Goodness
The beauty of this recipe lies in its simplicity and readily available ingredients. You'll be amazed at how a few pantry staples transform into such an exquisite dessert.
For the Irresistible Crumb Crust & Topping:
- 1 box (18.25 ounce) Lemon Cake Mix: The star ingredient that provides a flavorful foundation and acts as a binder.
- 1 1/2 cups Oats: Adds a delightful chewiness and texture to the crust, complementing the softness of the bar.
- 1/2 cup Butter, softened: Essential for a rich, buttery crust and helps bind the mixture together perfectly.
- 1 large Egg: Works with the butter to create a cohesive and tender crust.
For the Luscious Lemon Filling:
- 16 ounce can Lemon Icing: A brilliant shortcut for a smooth, sweet, and perfectly lemon-flavored filling base.
- 3 ounces Cream Cheese, softened: Adds a wonderful creaminess and richness, balancing the tartness of the lemon.
- 1/3 cup Daisy Brand Sour Cream: Contributes a subtle tang and helps achieve an incredibly smooth, velvety texture in the filling.
- 2 large Eggs: Crucial for setting the filling, giving it that classic custardy consistency.
Step-by-Step Guide to Lemon Bar Bliss
With your ingredients at the ready, let's dive into the simple steps to create these delightful lemon bars. The total preparation and bake time is approximately 1 hour and 20 minutes, yielding 16 generous servings.
- Preheat Your Oven: Start by preheating your oven to 350°F (175°C). This ensures even baking from the moment your bars enter the oven.
- Craft the Crumb Mixture: In a large mixing bowl, combine the lemon cake mix, oats, softened butter, and 1 egg. Mix until well combined and crumbly. This will be the foundation and topping for your bars.
- Reserve for Topping: Carefully set aside approximately 2 cups of this crumb mixture. This reserved portion will be sprinkled over the filling later, creating a delicious texture contrast.
- Form the Crust: Press the *remaining* crumb mixture firmly and evenly into the bottom of a 9x13-inch cake pan. For easy removal and clean slices, we highly recommend lining your pan with parchment paper, leaving an overhang on the sides.
- Prepare the Velvety Filling: In a separate bowl, blend together the canned lemon icing, softened cream cheese, sour cream, and the remaining 2 eggs. Whisk or beat until the mixture is completely smooth and uniform. The consistency should be pourable.
- Assemble the Layers: Gently pour the creamy lemon filling mixture evenly over the pressed crumb crust in the pan.
- Add the Crumb Topping: Evenly sprinkle the reserved 2 cups of crumb mixture over the top of the lemon filling. This creates a beautiful, rustic top crust.
- Bake to Golden Perfection: Place the pan in your preheated oven and bake for 45-55 minutes, or until the top is lightly golden and the filling is set. A good test is to gently shake the pan; the center should have only a slight jiggle.
- Cool and Chill: This is a crucial step! Allow the lemon bars to cool completely to room temperature on a wire rack. Once cooled, transfer them to the refrigerator and chill for at least 2 hours (and preferably longer) before cutting. This allows the filling to firm up properly for clean, beautiful slices.
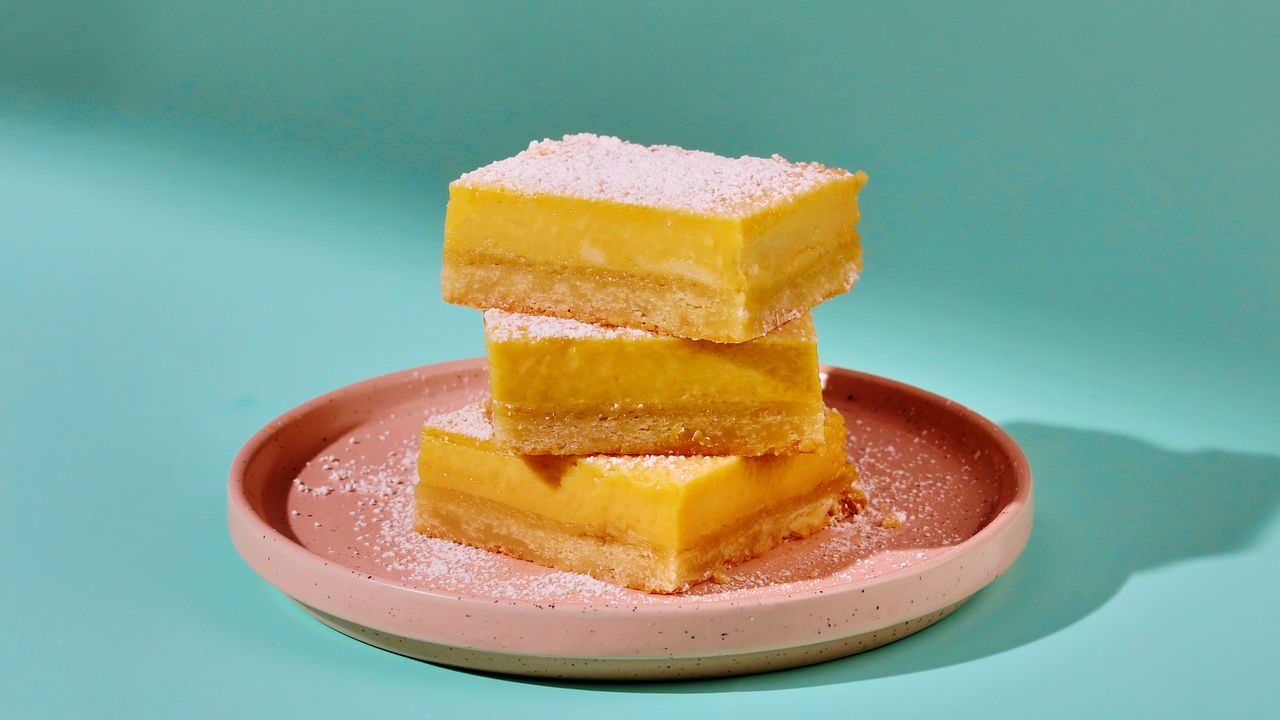
- Optional Finishing Touch: For that classic lemon bar look and an extra touch of sweetness, dust the cooled bars with powdered sugar just before serving, if desired.
Elevate Your Lemon Bars: Tips for Next-Level Tangy Sweetness
While our cake mix recipe offers incredible ease and delicious results, incorporating a few expert techniques can truly elevate *any* lemon bar, transforming them from great to absolutely exceptional. These insights, inspired by classic baking wisdom, focus on maximizing flavor and achieving perfect texture.
The Zest for Success: Unlocking Deeper Lemon Flavor
Even when using canned lemon icing, a little fresh lemon zest can work wonders. Lemon zest contains essential oils that carry a much more intense and aromatic lemon flavor than juice alone. Consider finely grating the zest of one fresh lemon and mixing it into your lemon icing, cream cheese, and sour cream blend. This simple addition will infuse your filling with an extra layer of bright, natural citrus punch. For those interested in mastering the art of flavor in baking, you'll find invaluable insights in
Master The Best Lemon Bars: Essential Baking Tips for Flavor.
Why Chilling is Non-Negotiable
We mentioned it in the steps, but it bears repeating: patience is key! Resist the urge to cut into your lemon bars while they're still warm. Allowing them to cool completely at room temperature and then chilling them in the refrigerator for a minimum of two hours is absolutely critical. This chilling period allows the custard-like filling to fully set and firm up, ensuring that when you slice them, you get clean, precise edges rather than a messy, soft crumble. It makes all the difference for both presentation and texture.
The Magic of a Pinch of Salt
It might seem counterintuitive to add salt to a sweet dessert, but a tiny pinch of salt plays a vital role in balancing flavors. Salt doesn't just make things salty; it enhances and brightens other flavors. In lemon bars, a touch of salt can cut through the sweetness, making the tartness of the lemon truly sing and creating a more complex, satisfying taste experience. Consider adding just a quarter teaspoon of salt to your crumb mixture.
Perfect Presentation: The Parchment Paper Trick
For beautifully neat slices and hassle-free removal, lining your 9x13-inch pan with parchment paper is a game-changer. Ensure the parchment paper hangs over the edges of the pan; these "slings" will allow you to easily lift the entire slab of cooled lemon bars out of the pan. This makes cutting into perfect squares effortless and cleanup a breeze. Say goodbye to sticky pans and uneven cuts!
Nutritional Snapshot & Serving Suggestions
Understanding what goes into your treats can be helpful. Based on a yield of 16 servings, each delightful lemon bar provides:
- Calories: Approximately 396
- Total Fat: 18 g (Saturated Fat: 7 g)
- Carbohydrates: 55 g (Dietary Fiber: 2 g, Sugar: 19 g)
- Protein: 5 g
- Cholesterol: 54 mg
- Sodium: 171 mg
These tangy sweet treats are perfect for any occasion! Serve them at potlucks, family gatherings, or simply as an afternoon pick-me-up. Beyond the optional dusting of powdered sugar, you can elevate your presentation even further by adding a few fresh raspberries or blueberries alongside, or a dollop of freshly whipped cream. For storage, keep any leftover lemon bars in an airtight container in the refrigerator for up to 3-4 days. They taste even better the next day!
Conclusion
There's truly nothing quite like a perfectly balanced lemon bar – that delightful zing of citrus complemented by a buttery, sweet base. With our foolproof recipe, achieving this tangy sweet perfection has never been easier. From the convenience of a cake mix base to essential tips for maximizing flavor and presentation, you're now equipped to bake a batch of lemon bars that will be met with rave reviews. So, preheat your oven, gather your ingredients, and get ready to experience the pure joy of homemade lemon bars. Your taste buds (and your guests) will thank you!